Tag Archives: InstallShield

Installshield Register.Net DLLs

My task is I need to register  a .net dll as part of the install.

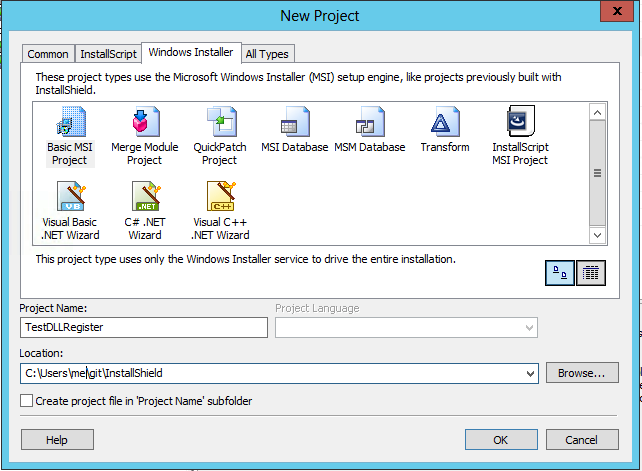
First thing I am going to do is Create a Basic MSI Project

Approach 1

Create a component with just the .net dll in it

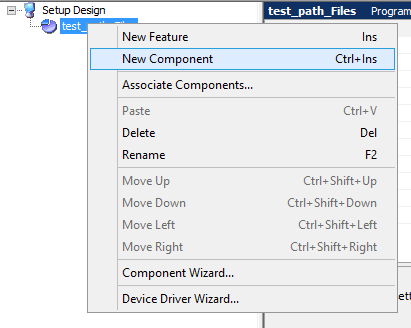
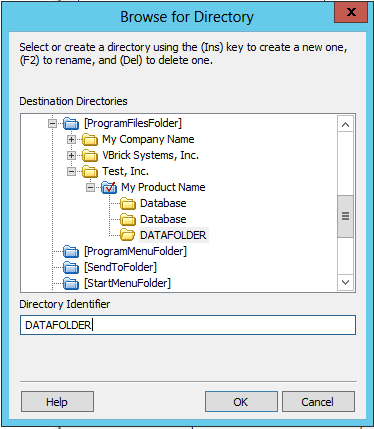
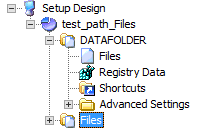
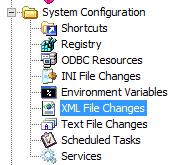
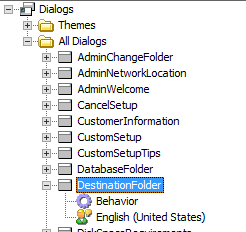
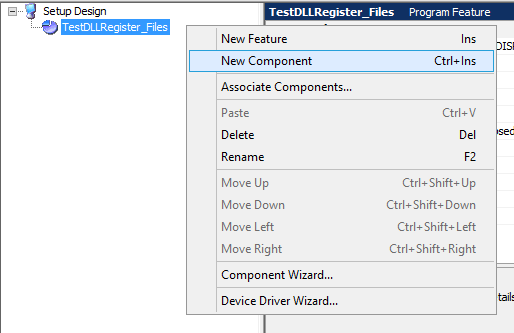
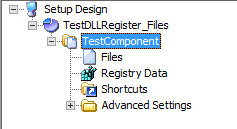
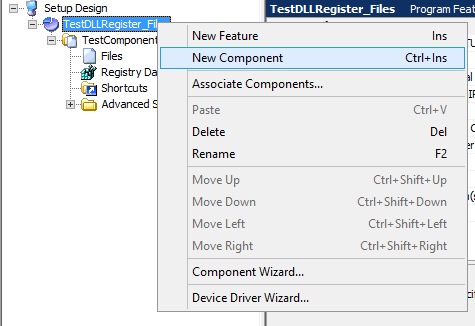
Make sure you have clicked the Installation Designer Tab, then expand out ‘Organization’, then select ‘Setup Design’, then select TestDLLRegister_Files

Right Click, choose ‘New Component’

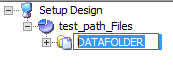
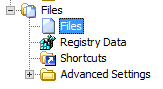
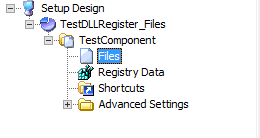
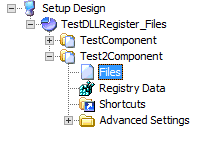
Now expand out TestComonent, and choose ‘Files’

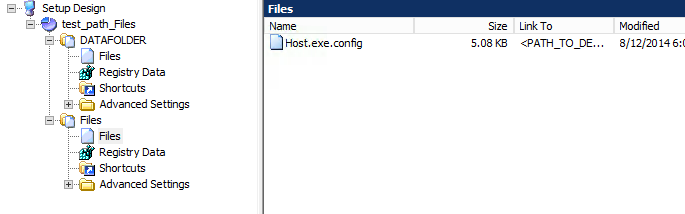
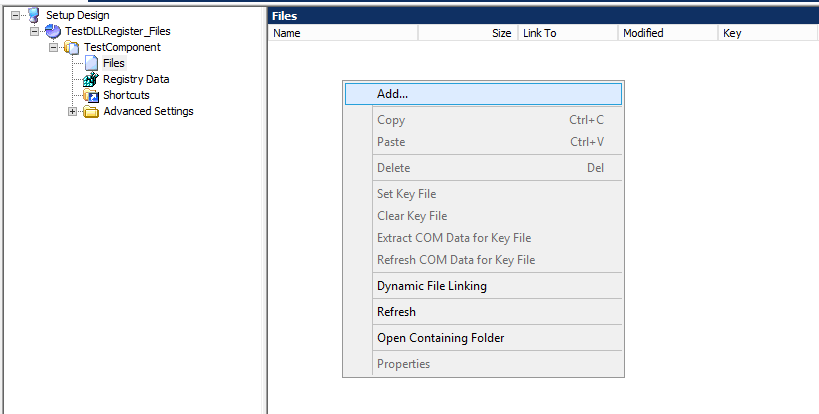
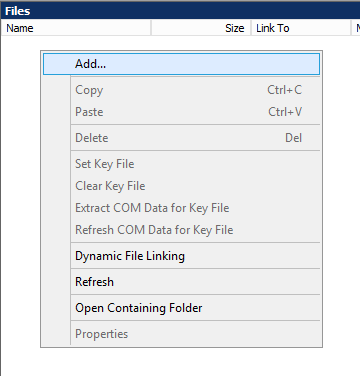
right click and choose ‘Add’ and select the dll you want to register.

Now it should show up in the files listing.

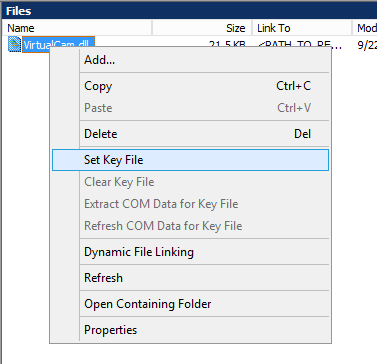
To set the .dll to be the keyfile, select the dll, then choose ‘Set Key File’

You will now see the key icon next to the DLL

Click on TestComponent
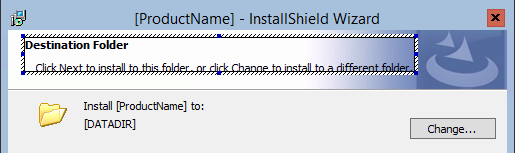
You should see

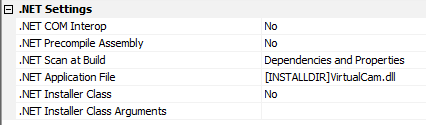
Change the .net Interop to yes

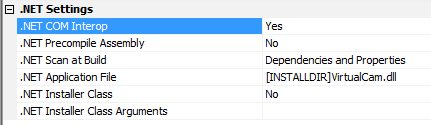
Installshield in the background is using regasm /regfile to create a file that contains the registry changes needed, then includes those changes as part of the install.

For some reason, perhaps that I am installing a 32bit component on a 64bit machine, this didn’t work as expected. After install the target machine contained all the registry enteries that the regasm /regfile creates but it didn’t work, I have read that some DLL’s perform post registration actions the run when you run RegAsm.exe VirtualCam.dll /nologo /codebase but don’t get captured when you run RegAsm.exe VirtualCam.dll /nologo /codebase /regfile

Approach 2

Run a .bat file to register the files.

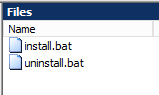
Create 2 batch files, one that registers the dll and the other that unregisters

Install.bat
C:\Windows\Microsoft.NET\Framework\v2.0.50727\RegAsm.exe VirtualCam.dll /nologo /codebase

uninstall.bat

C:\Windows\Microsoft.NET\Framework\v2.0.50727\RegAsm.exe /unregister /nologo VirtualCam.dll

Create a new Component

Expand out the new component you created Test2Comonent, and click on ‘Files’

Add files

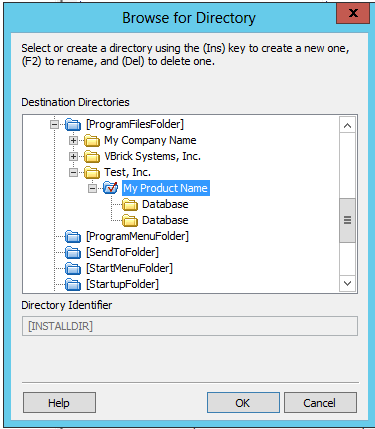
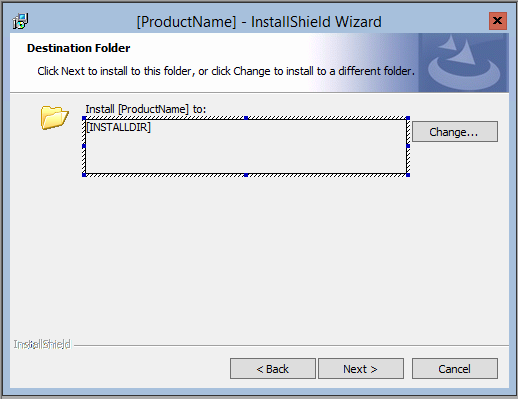
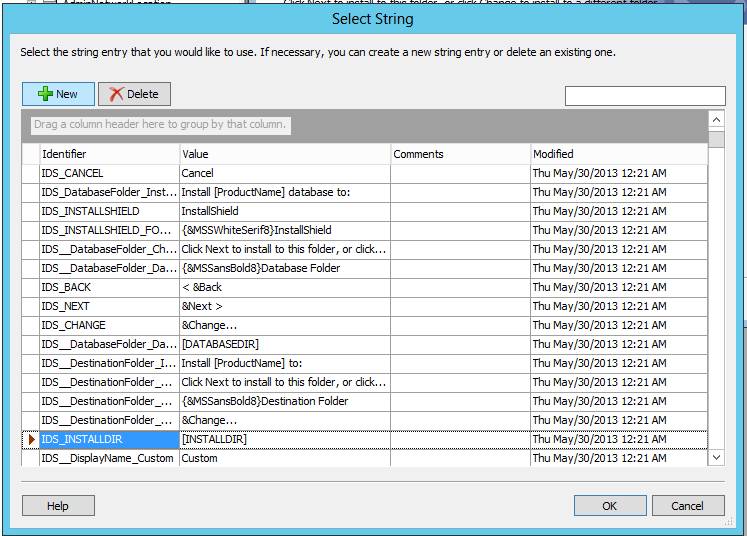
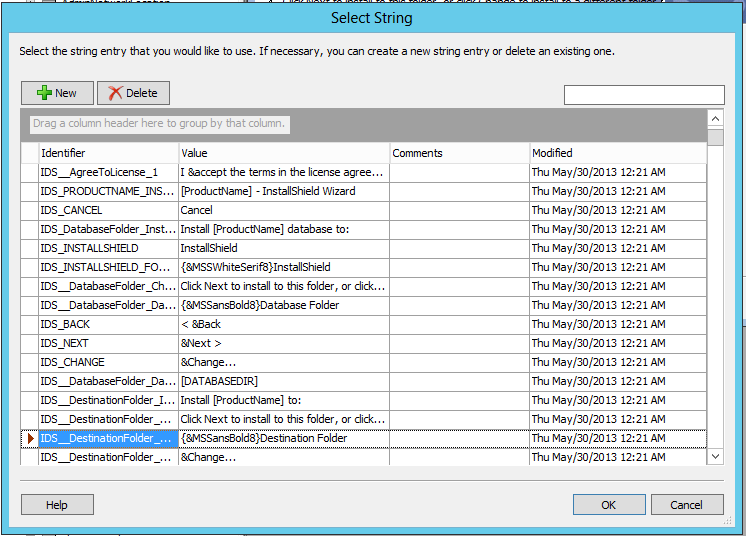
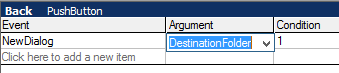
Make sure it will install your files to [INSTALLDIR] by clicking on Test2Component and checking it says ‘Destination’ ‘[INSTALLDIR]’

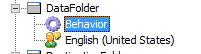
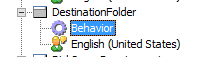
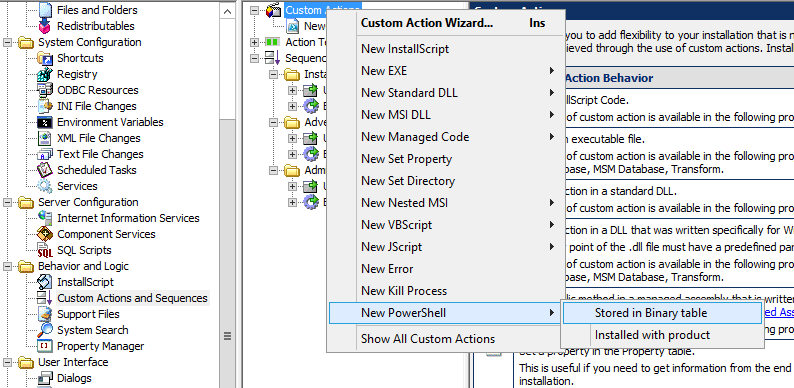
Expand out ‘Behavior and Logic’ and choose ‘Custom Actions and Sequences’

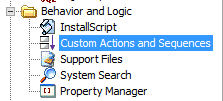
Right click on custom actions

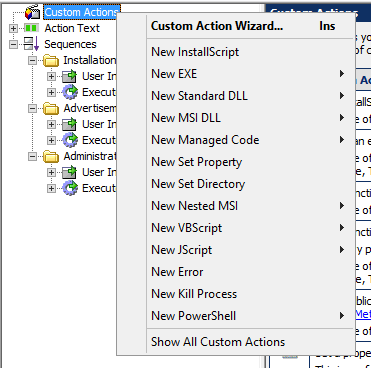
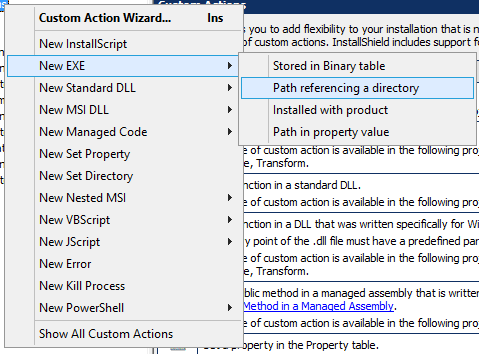
Choose new exe -> Path references a file

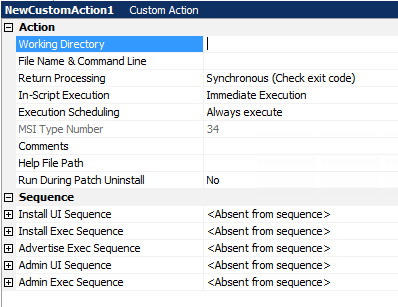
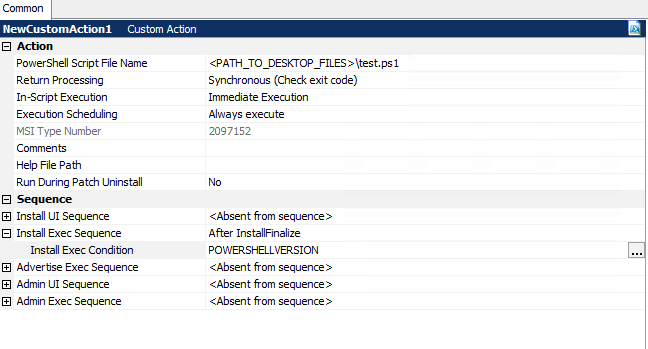
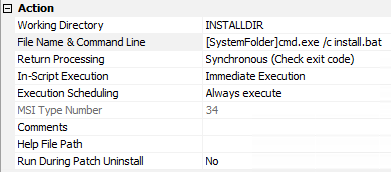
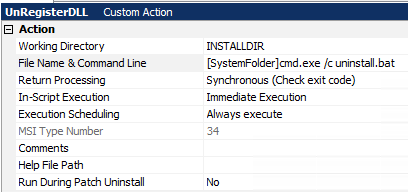
Set ‘Working Directory’ to ‘INSTALLDIR’

Set ‘File Name & Command LIne’ to ‘[SystemFolder]cmd.exe /c /install.bat’

Set ‘Return Processing’ to  ‘Syncronous (Check exit code)’

Set ‘In-Script Execution’ to ‘Immediate Execution’

Set ‘Execution Secheduling’ to ‘Always execute’

This should give you an MSI type of 34

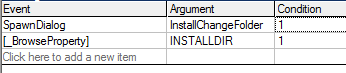
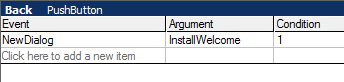
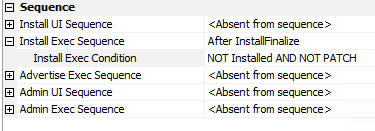
Change the Install Exec Sequence to ‘After InstallFinalize’

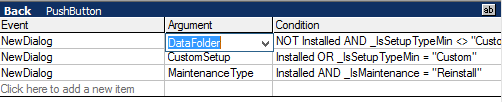
Set the ‘Install Exec Condition’ to ‘NOT Installed AND NOT PATCH’ this will mean it only runs if the Product is not installed and this isn’t a Parch

Rename the Custom Action to ‘RegisterDLL’

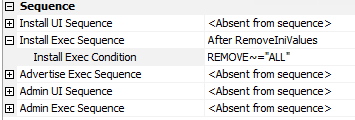
Repeat for  UnRegisterDLL, except this time you are executing uninstall.bat

This time the ‘Install Exec Sequence’ is “After RemoveIniValues’ and ‘Install Exec Condition’ is “Remove ~=”ALL” so this runs only when all components have been removed and the app is being uninstalled.

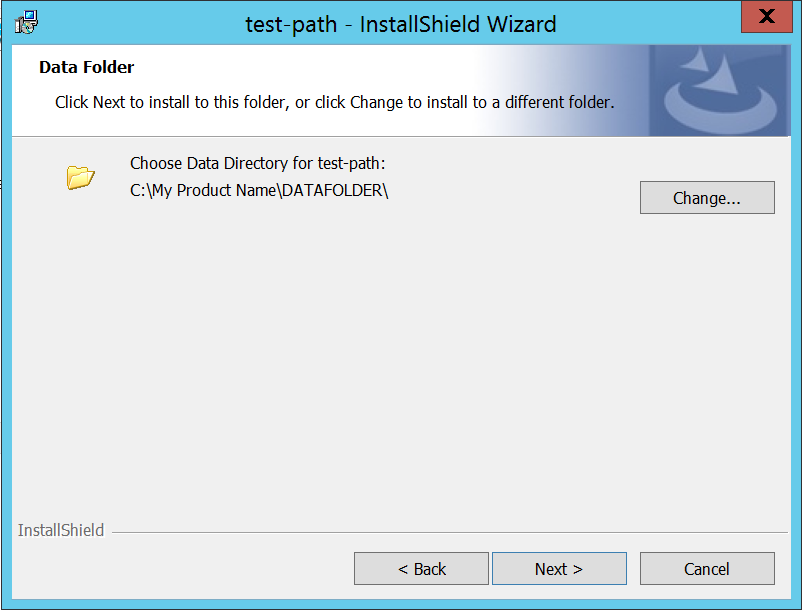
Now Assuming everything worked you will see the black dos box during the install and your DLL will be registered.

Create a Basic MSI Project

Choose Basic MSI, enter a project Name, Enter  location

Click on Application Information

Enter your Company Name, and Company Web address

Click on Installation Interview

Do you want to display a License Agreement Dialog: No

Do you want to prompt users to enter their Company Name and User Name: No

Do you want your user to be abel to modify the installation location of your application: Yes

Do you want users to be able to selectively install only certain parts of your application: Yes

Do you want to give users the option to launch your application when the installation completes: No

Choose Build Installation

Choose Single Executable

Build Installations

Click on Installation Designer

Change the INSTALLDIR to remove the Inc. from the name

Change the Project File Format to XML, I always do this so I can track changes to the installer file in source control like git


Adding a custom dialog to and Installshield Basic MSI project

I needed to add a new custom dialogue to a MSI basic project that captures a new path for the data folder for a project. The dialog should take the INSTALLPATH add DATADIR, then allow the user to change the path. On install the DATADIR path will be inserted into an app.config xml file so the application knows where to look

Create a new Basic MSI Project

image001

Application Information

image003

Installation Interview

image005

Installation Designer

image007

Create new component

image009

Rename to DATAFOLDER

image011

Click on the three dots Buttons next to Destination

image013

image016

Click on the three dots Buttons next to Destination


image017

image019

New Component Files

image021

image023

New Component Files

image025

Configure XML Changes

image027

import the XML file

image029

image031

Choose only the elements you need to change

image033

image035

Take out the xpath information that searches for specific elements in the config file, we just want it to match on runtime element, not the dataFolder orenviromentId

image037

Change the dataFolder Parameter to [DATAFOLDER]

image039

Delete the environmentID since we are not changing that

image041

Navigate to Dialogs

image043

right click Clone

image045

Rename the dialog

image047

Select the Location Control

image049

Create new string for the control you are changing by clicking on the three dots

image051

image053

Click New

image055

Enter Value: [DATAFOLDER]

image057

image059

Select DlgTitle Control

image061

Select the three dots the text

image063

image065

Select New

image067

Enter  DataFolder

image069

Select LocLabel

image071

Click three dots next to Text

image073

image075

Click New

image077

Enter “Choose Data Directory for [ProductName]:”

image079

Select Bahavior

image081

Select ChangeFolder

image083

Change INSTALLDIR to DATAFOLDER

image085

image087

Select Destination Folder

image089

Select Next

image091

Change NewDialog to DataFolder

image093

image095

Select DataFolder

image097

Select Back

image099

Change New Dialog to Destination Folder

image101

image103

Goto ReadyToInstall

image105

Go to Back

image107

Change DestinationFolder to DataFolder

image109

To DataFolder

image111

Now do a build, and you install, you should see

Screen Shot 2014-08-22 at 3.41.32 PM

And when you check your XML file you should see the changes reflected there.

Install HyperV or another feature using installshield

I am using installshield 2013, but this may apply to other versions.

My goal was to be able install the hyperV feature on a windows 2012 server using installshield.

First you follow the directions at http://helpnet.flexerasoftware.com/installshield20helplib/Content/helplibrary/CAPowerShell.htm

Add the property IS_PS_EXECUTIONPOLICY and set it to Unrestricted

InstallShield IS_PS_EXECUTIONPOLICY

Add a Predefined System Search to check for powershell

InstallShield Add System Search

Installshield system search powershell

Create a new custom action. I am using a powershell from a binary table

InstallShield Add custom action

I am being lazy so the script I am running is on my desktop
Add Install Exec Sequence: After InstallFinalize
Add Install Exec Condition: POWERSHELLVERSION

InstallShield PowerShell custom Action

Now comes the magic,
Installshield runs using 32 bit mode by default, which means it also runs the 32bit powershell verison, From what I can tell the 32bit version of PowerShell doesn’t implement a bunch of stuff, so you either have to convert your installshield project to strict 64bit or put some magic at the top of you Powershell script to switch it to 64bit

To set your installshield project to strict 64bit (see https://www.youtube.com/watch?v=yfOFvsfjSeA)

set the template x64; 1033
Installshield 64bit template

then you must tell the release to be strict about using 64bit components only

InstallShield Release Strict

The other option is to use the magic from http://www.nivot.org/blog/post/2012/12/18/Ensuring-a-PowerShell-script-will-always-run-in-a-64-bit-shell. I choose to use the magic at the top of my power shell since I may have to install 32 bit components as part of my installer, so I didn’t want to be restricted to only installing 64bit components.

# am I running in 32 bit shell?
if ($pshome -like "*syswow64*") {
    write-warning "Restarting script under 64 bit powershell"

    # relaunch this script under 64 bit shell
    # if you want powershell 2.0, add -version 2 *before* -file parameter
    & (join-path ($pshome -replace "syswow64", "sysnative") powershell.exe) -file `
        (join-path $psscriptroot $myinvocation.mycommand) @args

    # exit 32 bit script
    exit
}

# start of script for 64 bit powershell

 whoami | Add-Content -Path c:\file.txt
 echo "check admin" | Add-Content -Path c:\file.txt
 $64bit = [Environment]::Is64BitProcess

 ([Security.Principal.WindowsPrincipal] [Security.Principal.WindowsIdentity]::GetCurrent()).IsInRole(`
        [Security.Principal.WindowsBuiltInRole] "Administrator") | Add-Content -Path c:\file.txt

Add-Content -Path c:\file.txt -Value (’64-bit process = ‘ + $64bit);
echo "check feature" | Add-Content -Path c:\file.txt
Get-WindowsFeature | Where-Object {$_.Name -eq "Hyper-V"}  | Add-Content -Path c:\file.txt
$check = Get-WindowsFeature | Where-Object {$_.Name -eq "Hyper-V"}
If ($check.Installed -ne "True") {
        echo "notInstalled" | Add-Content -Path c:\file.txt
        #Install/Enable SNMP Services
        #Add-WindowsFeature SNMP-Services | Out-Null
        echo $check.Installed | Add-Content -Path c:\file.txt
        echo "Do Install" | Add-Content -Path c:\file.txt
        Install-WindowsFeature –Name Hyper-V -IncludeManagementTools -whatif | Out-File -Append c:\file.txt
}
else {
  echo "Installed" | Add-Content -Path c:\file.txt
}

Please excuse the c:\file.txt, those were my way of debugging to see what was going on.

I still need to work on handling the required reboot, but that is tomorrows problem