My task is I need to register a .net dll as part of the install.
First thing I am going to do is Create a Basic MSI Project
Approach 1
Create a component with just the .net dll in it
Make sure you have clicked the Installation Designer Tab, then expand out ‘Organization’, then select ‘Setup Design’, then select TestDLLRegister_Files

Right Click, choose ‘New Component’
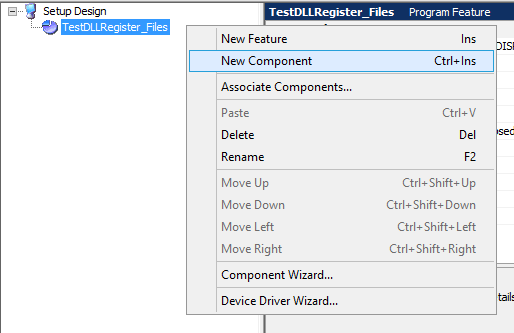
Now expand out TestComonent, and choose ‘Files’
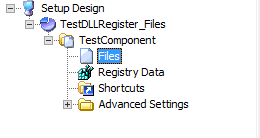
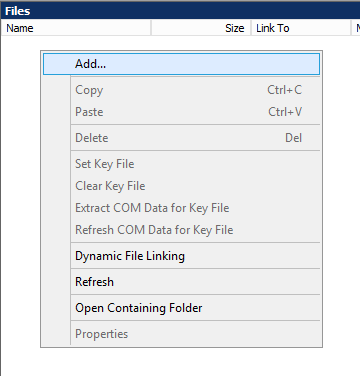
right click and choose ‘Add’ and select the dll you want to register.
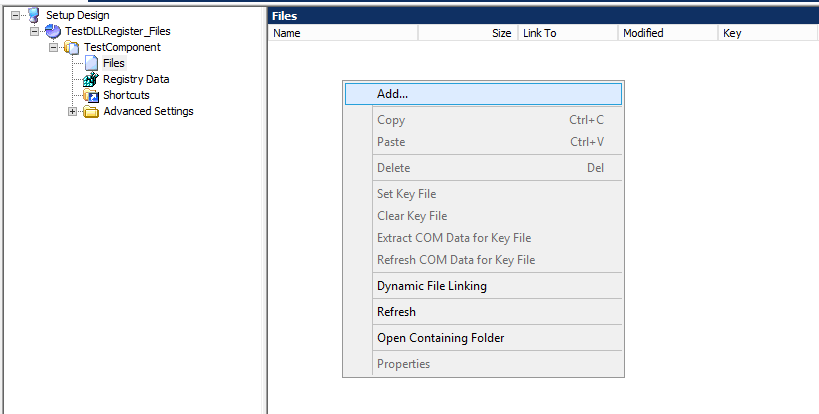
Now it should show up in the files listing.

To set the .dll to be the keyfile, select the dll, then choose ‘Set Key File’
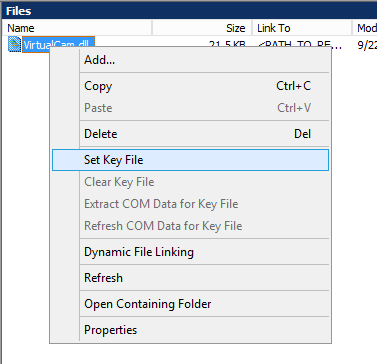
You will now see the key icon next to the DLL

Click on TestComponent
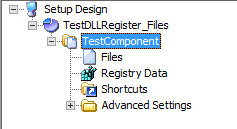
You should see

Change the .net Interop to yes

Installshield in the background is using regasm /regfile to create a file that contains the registry changes needed, then includes those changes as part of the install.
For some reason, perhaps that I am installing a 32bit component on a 64bit machine, this didn’t work as expected. After install the target machine contained all the registry enteries that the regasm /regfile creates but it didn’t work, I have read that some DLL’s perform post registration actions the run when you run RegAsm.exe VirtualCam.dll /nologo /codebase but don’t get captured when you run RegAsm.exe VirtualCam.dll /nologo /codebase /regfile
Approach 2
Run a .bat file to register the files.
Create 2 batch files, one that registers the dll and the other that unregisters
Install.bat
C:\Windows\Microsoft.NET\Framework\v2.0.50727\RegAsm.exe VirtualCam.dll /nologo /codebase
uninstall.bat
C:\Windows\Microsoft.NET\Framework\v2.0.50727\RegAsm.exe /unregister /nologo VirtualCam.dll
Create a new Component
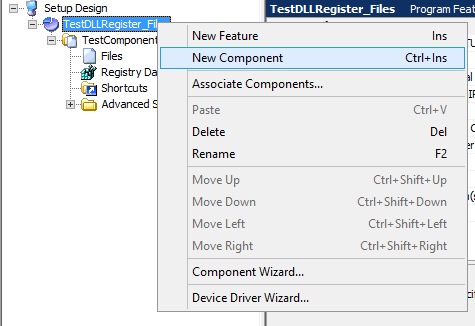
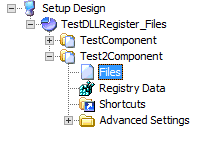
Expand out the new component you created Test2Comonent, and click on ‘Files’
Add files

Make sure it will install your files to [INSTALLDIR] by clicking on Test2Component and checking it says ‘Destination’ ‘[INSTALLDIR]’

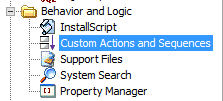
Expand out ‘Behavior and Logic’ and choose ‘Custom Actions and Sequences’
Right click on custom actions
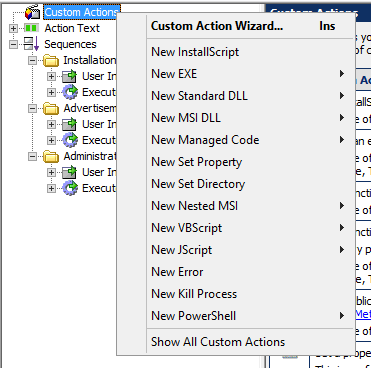
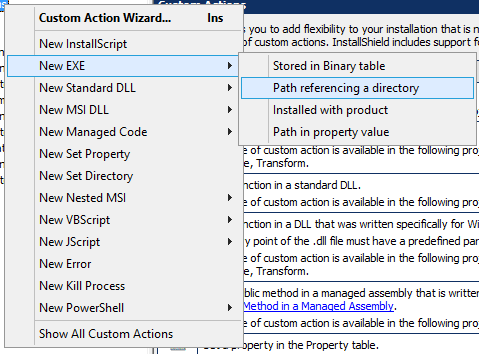
Choose new exe -> Path references a file
![]()
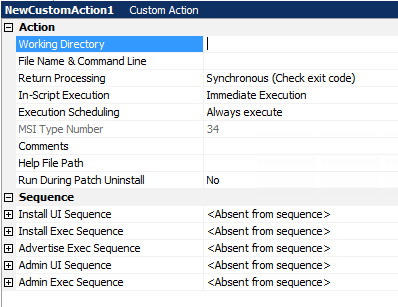
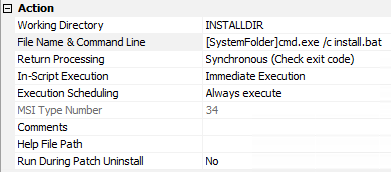
Set ‘Working Directory’ to ‘INSTALLDIR’
Set ‘File Name & Command LIne’ to ‘[SystemFolder]cmd.exe /c /install.bat’
Set ‘Return Processing’ to ‘Syncronous (Check exit code)’
Set ‘In-Script Execution’ to ‘Immediate Execution’
Set ‘Execution Secheduling’ to ‘Always execute’
This should give you an MSI type of 34
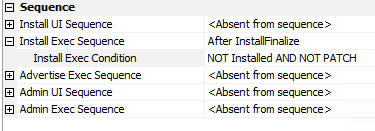
Change the Install Exec Sequence to ‘After InstallFinalize’
Set the ‘Install Exec Condition’ to ‘NOT Installed AND NOT PATCH’ this will mean it only runs if the Product is not installed and this isn’t a Parch
Rename the Custom Action to ‘RegisterDLL’
![]()
Repeat for UnRegisterDLL, except this time you are executing uninstall.bat
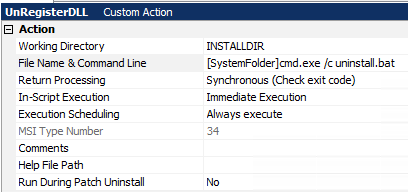
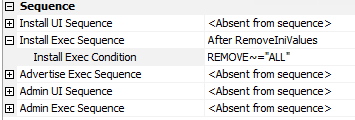
This time the ‘Install Exec Sequence’ is “After RemoveIniValues’ and ‘Install Exec Condition’ is “Remove ~=”ALL” so this runs only when all components have been removed and the app is being uninstalled.
Now Assuming everything worked you will see the black dos box during the install and your DLL will be registered.
